Saturday, July 12, 2014

Get your favorite internet videos

We all know how YouTube has changed our present day reach to our favourite music and videos.

I would like to share how YouTube has helped me find the music and videos I love from yesterday.

I have found songs from the 90s. Music videos from classics like 'sound of music'. Every video made by Michael Jackson. And so much more.

The reason to write here is not to tell you about YouTube. That you would definitely know about, if you reached my scribble.

What I would like to share is TubeMate. A brilliant application which lets you save videos and extracted audio from YouTube.

I now have high quality videos from my favorites in YouTube, which I can access without the internet access.

A sample screen from YouTube video saving is given below.

What Phone should I Buy?

In today's wide spread mobile phone options,  it does get tricky to ensure you are spending money for the appropriate device. 

I have followed mobile phones from the black n white basic phones to the present age of augmented reality and the cloud. 

I have tried to put together some basic two tips to follow while buying yourself a new mobile phone. 

Here you go. 

Device Specifications to consider - 

Depending on Feature or Smart devices, here is my quick selection advise for getting yourself a new mobile phone

FEATURE - If you plan to buy a feature device, stick to devices made by the likes of NOKIA/ SAMSUNG these device builders at least have QA Teams to test the device for basic quality issues before the device is sent out to reach the customer.
There are plenty of options, if you are willing to risk or gamble with a new brand, you always have options outside the above two brands, which have years of quality proven to the consumer.


SMART - This is when it gets tricky :)

So let me try and make it simple, leaving price and brand aside, this is how i would approach buying a mobile phone today, if i had to get myself a smart phone.

First filter - OS - Android/ IOS/ Windows - I prefer Android, since you get maximum freedom on this platform. However if your budget restricts you to 1GB ram, please consider Windows 8.1, it is performing better than most of the 1GB android devices. You must be wondering why i have not mentioned IOS, well IOS is not my choice, due to the OS rigidity on customization options. So if you have 1GB RAM, get yourself a Windows 8.1 device, preferably Nokia. If your budgets exceeds the 1GB RAM, android is a good buy - but which brand and what device?

Provided your budget is flexible - Below is the process to follow
What makes a device fly?  - Processing speed + GPU, RAM and obviously the precious Battery mAMP. These are the fundamentals to check before you go blowing off the money on your investments.

IOS - Well this OS is for the user, who does not want any customisation on the device software level. This device also gets a customer to pay for most of the basic applications you would get FREE on Android or even Windows.

My recommendations for phones to buy by OS platform below -
Android - Buy a nexus, nothing else compares to performance.
Windows - Buy a Nokia, after all they perfected Windows for the phone.
IOS - We know only APPLE for this OS.
Blackberry - I will never recommend this brand, even with Android, it is no comparison to the other smart devices in the market. 

Hope these quick tips HELP! 
If my tips above keep you wondering, message  me and ill help you out, the rabbit hole :) 

Friday, November 29, 2013

XPERIA SP Not powering ON - Hibernation!! Problem

If you are new to the XPERIA SP, you may find the below issue. Since I resolved the issue using assistance from the information highway, I thought I should write a small guide about the same. The XPERIA SP is a brilliant device. It is fast, trendy, and ready for future technologies.

Below is a snapshot of XPERIA SP -


Below is the description of the symptoms for the problem, and the solutions for the same -

PROBLEM - Phone turns off, and refuses to start.
1. Power button does not wake up the device.
2. Power cable plugged in does not wake up the device.
3. Cable connected to computer/ laptop does not power up the device.

NO WORRIES! - Your device is hibernating like a bear, and needs a NUDGE!

SOLUTION -
Open the back cover of the device.
Locate the yellow button 'OFF'
Use a ball pen nib or blunt pencil nib, and gently press the same and hold for 10 seconds.

After 30 seconds, power on the device, and it should be working just fine.


Tuesday, June 18, 2013

Setup GMAIL on a Java Phone

How does one get GMAIL on a java phone? 

I have put up screens to guide you achieve this easy task. The steps are given below -
1. Open your gmail account.
2. Click on settings as shown below


3. Now select the tab - 'Forwarding and Pop/IMAP', ensure 'POP3' is enabled, if not enable it and save the same.


The rest of the settings will now be done in the mobile phone.
1. From the main menu choose Messaging.
2. In the messaging menu choose, Email and then Settings.
3. You will get an option 'New Account', which creates a new profile in your phone where you can configure the settings.
4. In the settings enter the following information:
a) Account Name: The name you would like to refer this email account with, example - Office, Ronny, Etc.
b) Connect Using: Select the Data Account you use to connect the mobile phone to the Internet. You will need an active data connection activated from the mobile service provider.
c) Email Address: This is your gmail email address. e.g proloymitra@gmail.com
d) Connection Type: Enter POP3 here.
e) Incoming Server: Enter pop.gmail.com
f) Username: This is again the user id you have been using to login to your gmail account. In my case it is proloymitra
g) Password: This is the password you use to login to you gmail id.
e) Outgoing Server: Enter smtp.gmail.com here.
f) Advanced Settings: This would include options on receiving email time intervals
i) Encryption: Select SSL here.
ii) Outgoing username: is the same as Username as entered earlier.
iii) Outgoing Password: Is the same password you use to login to your gmail account,
iv) Incoming Port: Enter 995 here.
v) Outgoing Port: Enter 465 here.

Wednesday, March 6, 2013

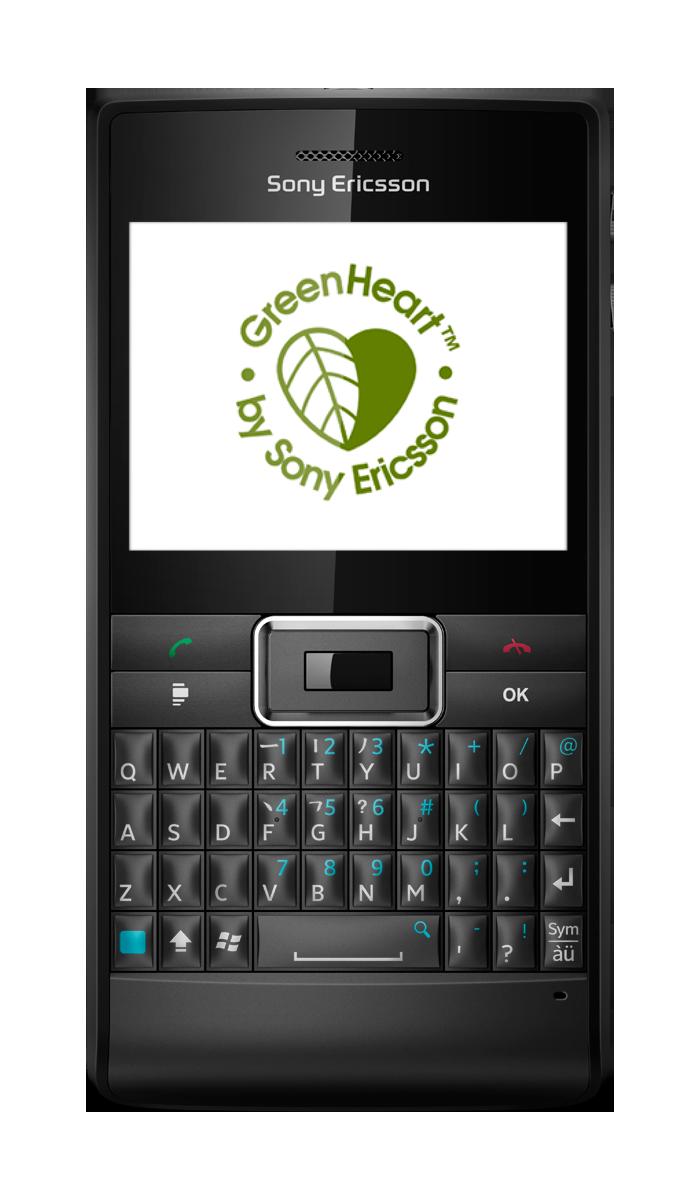
Internet Sharing - Sony Ericsson Aspen


SETUP Sony Ericsson ASPEN as a bluetooth MODEM.

Vishal what better way to help a friend. Here you go this is how to setup up bluetooth tethering on Sony Ericsson ASPEN. I hope i heard the device name correctly.

1. Switch ON bluetooth in the phone.
2. SET the device bluetooth status to visible.
3. Find the device from the computer and ADD the device.
4. Once complete, the window in the computer installing drivers for different functions would have stopped.

Now on the device
5. TAP > Internet Sharing 
6. From the PC connection list, select bluetooth PAN
7. From the PC where you find network connection list, select the name of the connection that your phone uses.
8. TAP Connect
9. On the Internet Sharing screen, check Status to verify that the computer has been
successfully connected to the Internet using your phone as a Bluetooth™ modem.
10. Your should now be connected to the internet using the mobile phone.

If the above steps do not help.
I am a call away, I can also take remote control of your laptop and configure the modem, provided you have an alternate internet connection.

Regards,
Proloy

Wednesday, February 27, 2013

gadgetANT: TRICKS for Apple & Android Screenshot

gadgetANT: TRICKS for Apple & Android Screenshot: SCREEN SHOT TRICKS for Android & IOS Many of us have installed 3rd party application on android and apple phones to take screenshots....

TRICKS for Apple & Android Screenshot

SCREEN SHOT TRICKS for Android & IOS

Many of us have installed 3rd party application on android and apple phones to take screenshots. Both these phone softwares have the in-built feature of screenshot capture in a *.png image format. Some of us know how, for those who do not,please try this out with your phones and capture those menu's/ wap urls/ game screenshots you want following the step-by-step guide given below.

For IOS or Apple devices - Simply press the HOME+Power button together to take a screenshot of any screen.

For Android - Simply Press Power button+Volume down key at the same time to take a screenshot of any screen.