Wednesday, March 6, 2013

Internet Sharing - Sony Ericsson Aspen


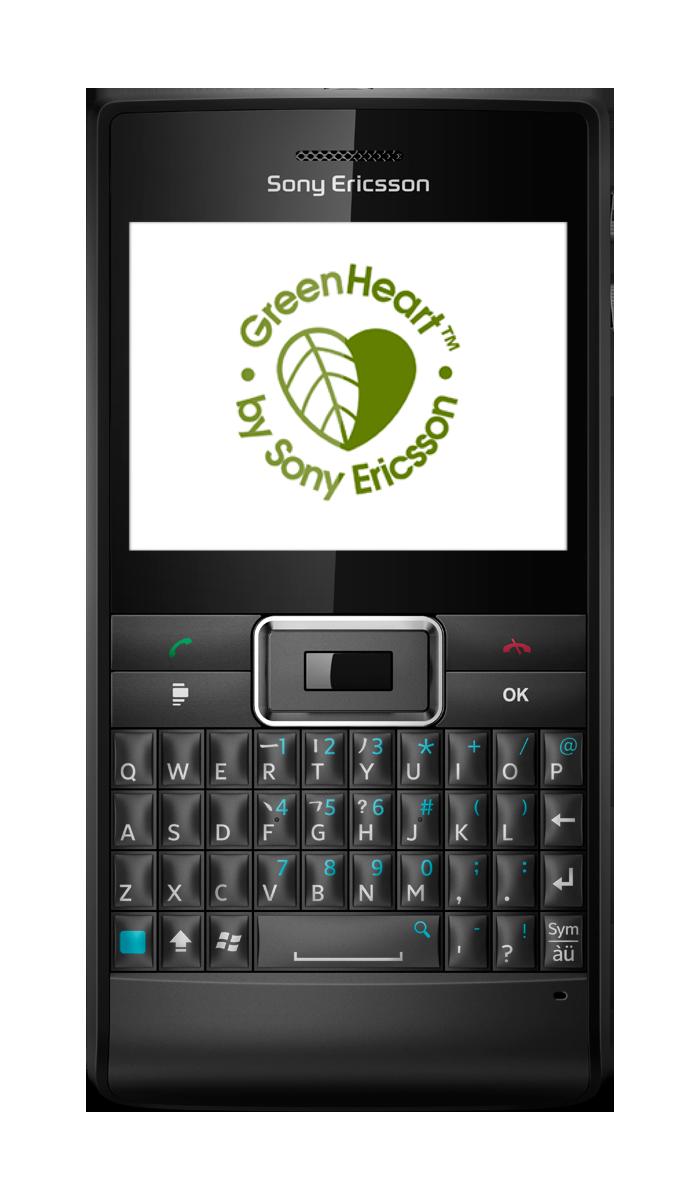
SETUP Sony Ericsson ASPEN as a bluetooth MODEM.

Vishal what better way to help a friend. Here you go this is how to setup up bluetooth tethering on Sony Ericsson ASPEN. I hope i heard the device name correctly.

1. Switch ON bluetooth in the phone.
2. SET the device bluetooth status to visible.
3. Find the device from the computer and ADD the device.
4. Once complete, the window in the computer installing drivers for different functions would have stopped.

Now on the device
5. TAP > Internet Sharing 
6. From the PC connection list, select bluetooth PAN
7. From the PC where you find network connection list, select the name of the connection that your phone uses.
8. TAP Connect
9. On the Internet Sharing screen, check Status to verify that the computer has been
successfully connected to the Internet using your phone as a Bluetooth™ modem.
10. Your should now be connected to the internet using the mobile phone.

If the above steps do not help.
I am a call away, I can also take remote control of your laptop and configure the modem, provided you have an alternate internet connection.

Regards,
Proloy

Wednesday, February 27, 2013

gadgetANT: TRICKS for Apple & Android Screenshot

gadgetANT: TRICKS for Apple & Android Screenshot: SCREEN SHOT TRICKS for Android & IOS Many of us have installed 3rd party application on android and apple phones to take screenshots....

TRICKS for Apple & Android Screenshot

SCREEN SHOT TRICKS for Android & IOS

Many of us have installed 3rd party application on android and apple phones to take screenshots. Both these phone softwares have the in-built feature of screenshot capture in a *.png image format. Some of us know how, for those who do not,please try this out with your phones and capture those menu's/ wap urls/ game screenshots you want following the step-by-step guide given below.

For IOS or Apple devices - Simply press the HOME+Power button together to take a screenshot of any screen.

For Android - Simply Press Power button+Volume down key at the same time to take a screenshot of any screen.


Blacberry Z10 email settings

Step-by-step email settings for Blackberry Z10

Pull down the TOP bar
Swipe your finger from the TOP bar
TAP Settings
The System Settings Option will Appear
You will find ACCOUNTs
Click Accounts
Options that appear - 'Email, Calendar, Contacts', Facebook, Twitter, Linkedin, Evernote.
You would need to select - 'Email, Calendar, Contacts'
You will be requested to enter your 'Email Address'
Enter the full Email Address
TAP 'Next' on the top right hand corner
You will need to enter the password
TAP 'Next' on the top right hand corner
Now TAP Done.

Your email account will now get added to the Blackberry Z10.

Saturday, February 23, 2013

IPHONE 5 Email Setup


Setting up Exchange EMAIL Account in IPHONE5

Setting up GMAIL and YAHOO email on IPHONE5 is quite simple, since you only need to enter the email username and password, post which the OS would auto-identify the rest of the settings to push and pull email from your email box.

I have setup a step-by-step guide to assist you configure MS Exchange Email account on your IPHONE5.

STEP 1 – Open the menu and select ‘SETTINGS’
STEP 2 - Scroll down to find 'Mail, Contacts, Calendar'
STEP 3 - Select 'Mail, Contacts, Calendar' to find the below screen.
STEP 4 - Select 'Add Account'
STEP 5 - From the screen below - select 'Exchange'
STEP 6 - The screen will ask for email username, password, and a reference name to the account.
STEP 7 - The below screen will appear, since not all email servers would allow auto-discovery of the server login details.
STEP 8 - Enter the email address
STEP 9 - Enter the mail server name. You may or may not have this information for your office email account. Ask your office IT administrator for the server name. Mention the purpose of your query, specifically mention you are configuring your mobile phone to connect to the exchange server. 
STEP 10 - Enter the DOMAIN. You may or may not have this information. If unsure, ask the IT administrator, what the DOMAIN name is.
STEP 11 - Here you would need to enter your username. Would be similar to your windows login name, when you connect your laptop/ desktop to the office network.
STEP 12 -  Enter the email password.
STEP 13 - Provide a reference name to this email account. Example 'Office' or 'Shop', etc.
STEP 14 - Once all the details are entered correctly, PRESS 'next'

Screen shots below -

Monday, February 18, 2013

LUMIA 510 - Not Enough Space - Solution

If you have bought a Nokia Lumia 510 recently, and are a little perplexed as to where all the space has gone. Here is a reality check and quick guide for you to understand.


Phone Memory Solid State - 4GB
OS - 1.5GB
Balance -2.5GB

This 2.5 GB can be kept for external storage like copying music/videos into the phone using ZUNE. The standard setting in the device, keeps maximum of the available 2.5GB free for application installations and application storage.

The method of getting this resolved is explained by the step by step method and snapshot given below.

Step-by-step procedure -
Install ZUNE, download it from here.
Once installed connect your Windows Lumia phone with cable to the system.
When ZUNE starts -
Click Settings -
Find reserved space -
Reduce the reserved space -
Set space available upto to 1.5GB for usage storage.

Find the reserved screen below -

Spent some time in figuring out the above.
Most of the blogs and discussion forums show comments where customer have complained about the phone being bad. There is nothing wrong with the device. It is only the method in which packaging has been done.

All Nokia had to do was draw a visual step-by-step guide for customers to figure this out, or better yet they should have packaged the OS, in such a way, that the customer gets free space to use for something as basic as transferring music/ videos.

Hope this screenshot helps you set the right space in the phone.
Please feel free to drop me a message in proloymitra@gmail.com in case the above is not enough.

Monday, February 4, 2013

Video Call & Conference

NASSCOM listed Intellisys as the most innovative IT Company of the country. So why am I talking about Intellisys, they have made a solution called ‘Vennfer’.

A friend called this morning, asking me what would be the best option to conduct remote video interviews in another country without worrying about security or cost. She already had some ideas about how to get this done, but wanted to be sure the right option was being used.

Keeping security and cost in mind I suggested the standard options Skype and Google Talk. Also suggested Vennfer since the video conferencing solution does not need any middle tier hardware to allow video conferencing. I have seen a live demonstration of this product in its initial demonstration. It works well and allows you to experience video conferencing, without additional hardware.

Why use Vennfer –
It is a complete IP based videoconferencing software solution built on state-of-art Microsoft and Open source platforms.
 Many other reason you can find in the company’s website, by clicking here

Video Calling and Video conferencing has a bandwidth requirement beyond 384kbps. So if you have the required data connectivity speed, only then venture into trying the same.