Friday, November 29, 2013

XPERIA SP Not powering ON - Hibernation!! Problem

If you are new to the XPERIA SP, you may find the below issue. Since I resolved the issue using assistance from the information highway, I thought I should write a small guide about the same. The XPERIA SP is a brilliant device. It is fast, trendy, and ready for future technologies.

Below is a snapshot of XPERIA SP -


Below is the description of the symptoms for the problem, and the solutions for the same -

PROBLEM - Phone turns off, and refuses to start.
1. Power button does not wake up the device.
2. Power cable plugged in does not wake up the device.
3. Cable connected to computer/ laptop does not power up the device.

NO WORRIES! - Your device is hibernating like a bear, and needs a NUDGE!

SOLUTION -
Open the back cover of the device.
Locate the yellow button 'OFF'
Use a ball pen nib or blunt pencil nib, and gently press the same and hold for 10 seconds.

After 30 seconds, power on the device, and it should be working just fine.


Tuesday, June 18, 2013

Setup GMAIL on a Java Phone

How does one get GMAIL on a java phone? 

I have put up screens to guide you achieve this easy task. The steps are given below -
1. Open your gmail account.
2. Click on settings as shown below


3. Now select the tab - 'Forwarding and Pop/IMAP', ensure 'POP3' is enabled, if not enable it and save the same.


The rest of the settings will now be done in the mobile phone.
1. From the main menu choose Messaging.
2. In the messaging menu choose, Email and then Settings.
3. You will get an option 'New Account', which creates a new profile in your phone where you can configure the settings.
4. In the settings enter the following information:
a) Account Name: The name you would like to refer this email account with, example - Office, Ronny, Etc.
b) Connect Using: Select the Data Account you use to connect the mobile phone to the Internet. You will need an active data connection activated from the mobile service provider.
c) Email Address: This is your gmail email address. e.g proloymitra@gmail.com
d) Connection Type: Enter POP3 here.
e) Incoming Server: Enter pop.gmail.com
f) Username: This is again the user id you have been using to login to your gmail account. In my case it is proloymitra
g) Password: This is the password you use to login to you gmail id.
e) Outgoing Server: Enter smtp.gmail.com here.
f) Advanced Settings: This would include options on receiving email time intervals
i) Encryption: Select SSL here.
ii) Outgoing username: is the same as Username as entered earlier.
iii) Outgoing Password: Is the same password you use to login to your gmail account,
iv) Incoming Port: Enter 995 here.
v) Outgoing Port: Enter 465 here.

Wednesday, March 6, 2013

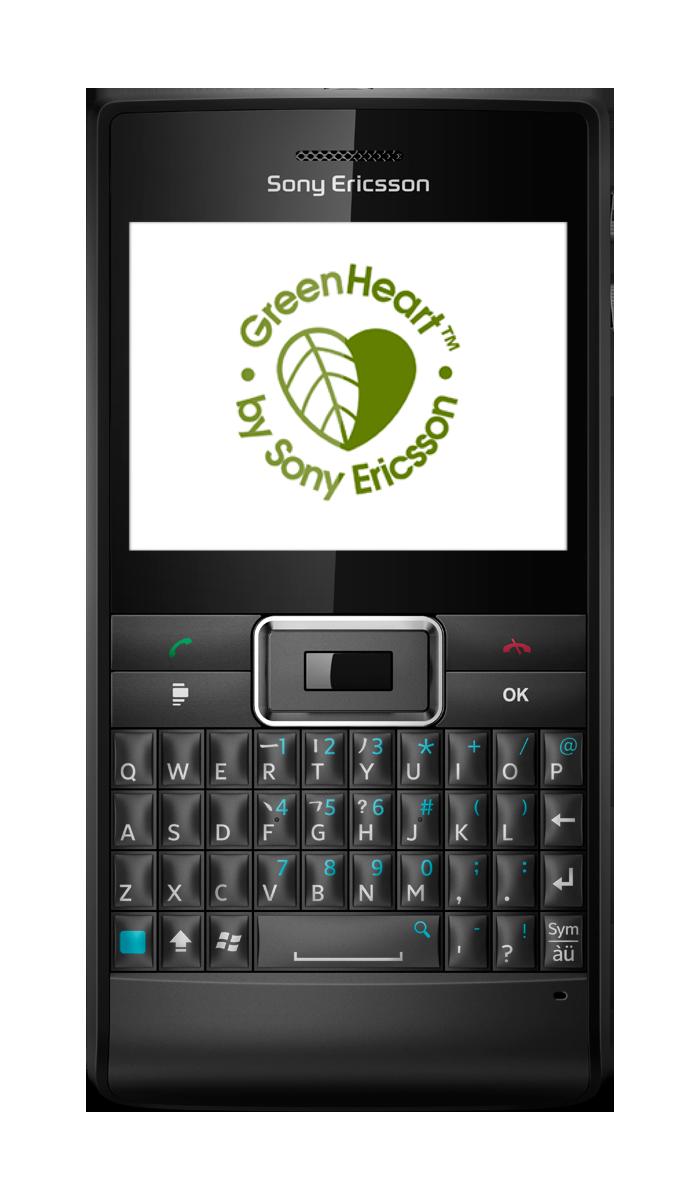
Internet Sharing - Sony Ericsson Aspen


SETUP Sony Ericsson ASPEN as a bluetooth MODEM.

Vishal what better way to help a friend. Here you go this is how to setup up bluetooth tethering on Sony Ericsson ASPEN. I hope i heard the device name correctly.

1. Switch ON bluetooth in the phone.
2. SET the device bluetooth status to visible.
3. Find the device from the computer and ADD the device.
4. Once complete, the window in the computer installing drivers for different functions would have stopped.

Now on the device
5. TAP > Internet Sharing 
6. From the PC connection list, select bluetooth PAN
7. From the PC where you find network connection list, select the name of the connection that your phone uses.
8. TAP Connect
9. On the Internet Sharing screen, check Status to verify that the computer has been
successfully connected to the Internet using your phone as a Bluetooth™ modem.
10. Your should now be connected to the internet using the mobile phone.

If the above steps do not help.
I am a call away, I can also take remote control of your laptop and configure the modem, provided you have an alternate internet connection.

Regards,
Proloy

Wednesday, February 27, 2013

gadgetANT: TRICKS for Apple & Android Screenshot

gadgetANT: TRICKS for Apple & Android Screenshot: SCREEN SHOT TRICKS for Android & IOS Many of us have installed 3rd party application on android and apple phones to take screenshots....

TRICKS for Apple & Android Screenshot

SCREEN SHOT TRICKS for Android & IOS

Many of us have installed 3rd party application on android and apple phones to take screenshots. Both these phone softwares have the in-built feature of screenshot capture in a *.png image format. Some of us know how, for those who do not,please try this out with your phones and capture those menu's/ wap urls/ game screenshots you want following the step-by-step guide given below.

For IOS or Apple devices - Simply press the HOME+Power button together to take a screenshot of any screen.

For Android - Simply Press Power button+Volume down key at the same time to take a screenshot of any screen.


Blacberry Z10 email settings

Step-by-step email settings for Blackberry Z10

Pull down the TOP bar
Swipe your finger from the TOP bar
TAP Settings
The System Settings Option will Appear
You will find ACCOUNTs
Click Accounts
Options that appear - 'Email, Calendar, Contacts', Facebook, Twitter, Linkedin, Evernote.
You would need to select - 'Email, Calendar, Contacts'
You will be requested to enter your 'Email Address'
Enter the full Email Address
TAP 'Next' on the top right hand corner
You will need to enter the password
TAP 'Next' on the top right hand corner
Now TAP Done.

Your email account will now get added to the Blackberry Z10.

Saturday, February 23, 2013

IPHONE 5 Email Setup


Setting up Exchange EMAIL Account in IPHONE5

Setting up GMAIL and YAHOO email on IPHONE5 is quite simple, since you only need to enter the email username and password, post which the OS would auto-identify the rest of the settings to push and pull email from your email box.

I have setup a step-by-step guide to assist you configure MS Exchange Email account on your IPHONE5.

STEP 1 – Open the menu and select ‘SETTINGS’
STEP 2 - Scroll down to find 'Mail, Contacts, Calendar'
STEP 3 - Select 'Mail, Contacts, Calendar' to find the below screen.
STEP 4 - Select 'Add Account'
STEP 5 - From the screen below - select 'Exchange'
STEP 6 - The screen will ask for email username, password, and a reference name to the account.
STEP 7 - The below screen will appear, since not all email servers would allow auto-discovery of the server login details.
STEP 8 - Enter the email address
STEP 9 - Enter the mail server name. You may or may not have this information for your office email account. Ask your office IT administrator for the server name. Mention the purpose of your query, specifically mention you are configuring your mobile phone to connect to the exchange server. 
STEP 10 - Enter the DOMAIN. You may or may not have this information. If unsure, ask the IT administrator, what the DOMAIN name is.
STEP 11 - Here you would need to enter your username. Would be similar to your windows login name, when you connect your laptop/ desktop to the office network.
STEP 12 -  Enter the email password.
STEP 13 - Provide a reference name to this email account. Example 'Office' or 'Shop', etc.
STEP 14 - Once all the details are entered correctly, PRESS 'next'

Screen shots below -